|
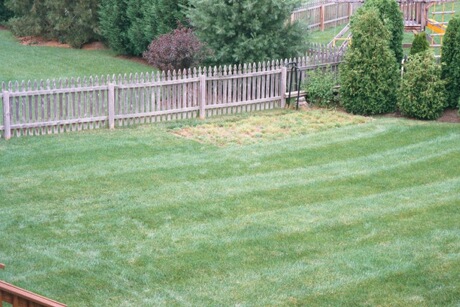
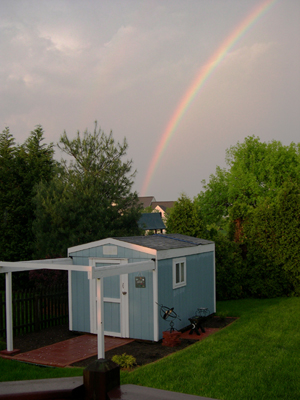
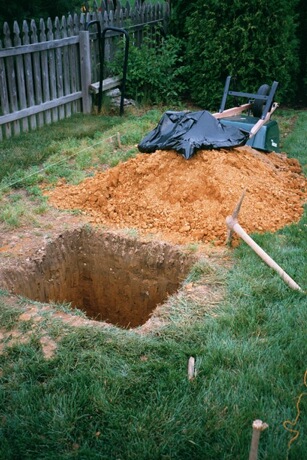
With the garden moved to the other side of the yard the hard
work of preparing the pier could begin. A 3' x 3' x 3' hole
was dug and filled with concrete and rebar. |
|
|
|
|
|
|
|
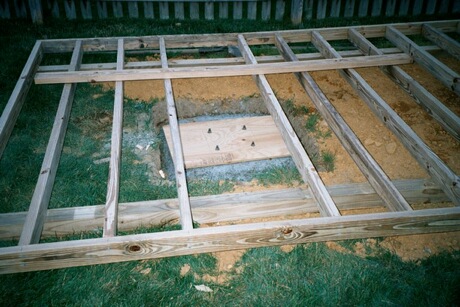
Once filled, a form was inserted into the wet concrete.
The form held four 12" long "J" bolts in the exact postion they need
to be to hold the custom made pier. When the concrete was dry, the
plywood form was removed.
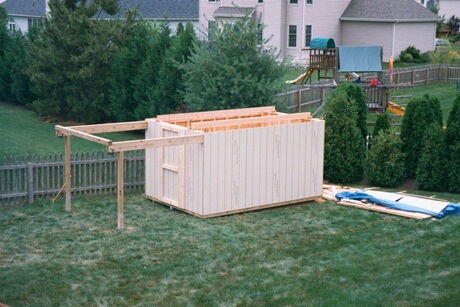
In this image you can see the basic framing of the floor which
consists of pressure treated 2x4s on 4x4s. |
|
|
|
|
|
|

|
My pier is a custom fabricated (thank you John!) carbon steel
pipe. It's 8" in diameter with 1/4" thick walls and is 50" long.
It has a 1/4" thick steel plate welded at each end and is filled with
roughly 200 lbs. of dry sand to dampen vibrations.
A section of 3" PVC pipe is also shown. This will be the electrical
conduit between the control (warm) room and the scope room. The large
diameter allows for the big connectors on many computer cables. |
|
|
|
|
|
|
|
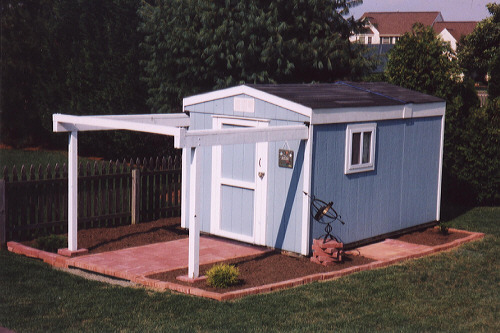
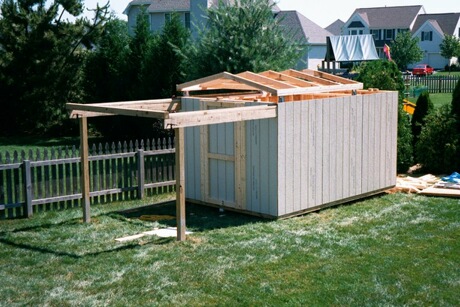
The outrigger posts are PT 4x4s set in 3 feet of concrete.
The
walls are standard 2x4 construction. The two 2x6 beams on top
were temporary supports to allow the roof to be built in place. They
were removed to lower the roof onto the angle iron tracks it rides on (pictured
later). |
|
|
|
|
|
|
|
The finished roof is estimated to weigh about 900 lbs. It
rides on 6 Albion grooved steel wheels. Each is 5" diameter and
can support 800 lbs. |
|
|
|
|
|
|

|
A close up of one of the wheels. Four turnbuckles are used
to lock down the roof in case of high winds. |
|
|
|
|
|
|
|
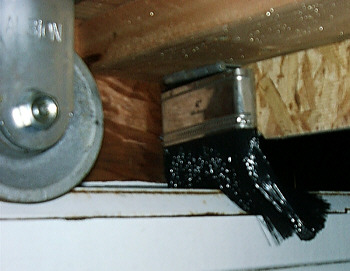
Several people have written to ask how I cover the space where
the rails meet the roof. This photo shows my solution. It's a
synthetic bristle paintbrush with the handle cut off. It's
attached to the roof with a hinge that allows it to flip up
when the roof is pushed open and down to close the opening
when the roof is pulled closed. The roof is on its way closed
in this photo. It's very effective at keeping bugs and rain out. |
|
|
|
|
|
|

|
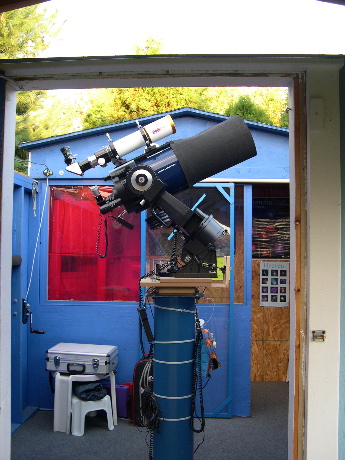
An interior shot of the pier and the entrance to the
control room. The building sits "around" the pier isolating
it from any vibration.
The control room windows have red gel shades
to reduce light from the monitors and preserve
night vision. |
|
|
|
|
|
|
|
|
A view into the finished building with the roof in the
open postion. The indoor/outdoor carpet is a comfortable
addition. |
|
|
|
|
|
|
|
|
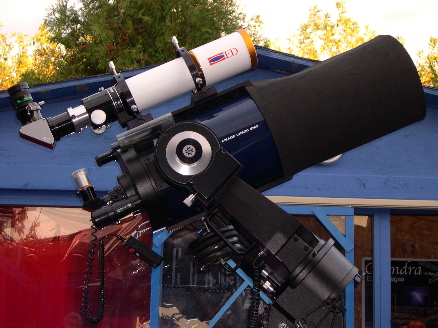
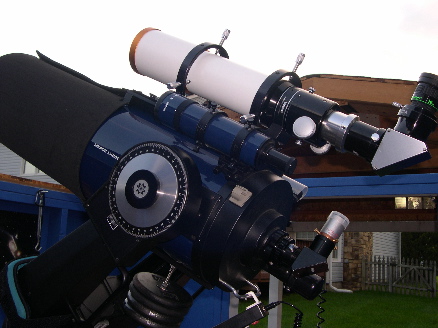
A closer view of the telescopes shows
the LX-200 and Megrez 80 II APO mounted in
polar alignment mode.
|
|
|
|
|
|
|
|
|
Mounting on a wedge improves high precision
tracking and permits long duration photographic
exposures. |
|
|
|
|
|
|
|

|
A close-up of the heated & insulated control room.
Total control over telescope movement
and imaging devices is possible from here.
Digital stills and video as well as analog
video recording is available. All cable
connections run under the floor to the pier
to eliminate trip hazards.
Underground conduit carries power and
computer networking lines from the house making it possible to control
everything, including the telescope and camera, from inside the house.
Even focus can be adjusted. This is especially nice on the coldest winter
nights!
|
|
|
|
|
|
|
|


|
I recently installed a winch system to ease roof opening
and closing. Click the image for a larger view.
The roof fully opened.
|
|
|
|
|